Originally written and posted March 8, 2010.
Ok, I’ve decided to write a mozzarella cheese making tutorial sort of thing, as a friend requested! Hope you enjoy and hope it makes sense! As always, feel free to email me with any questions!
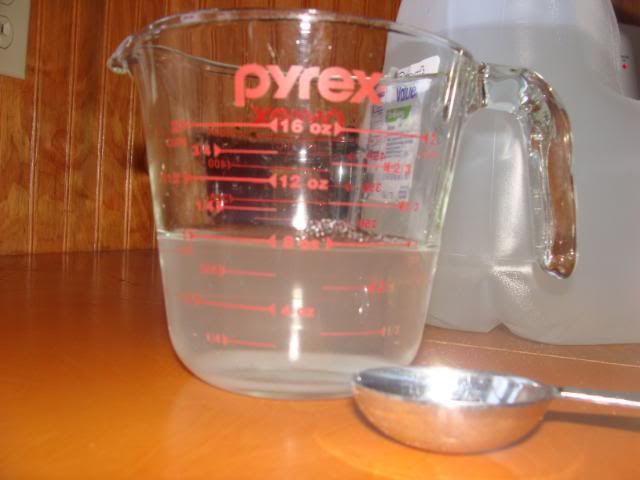
Step #1:
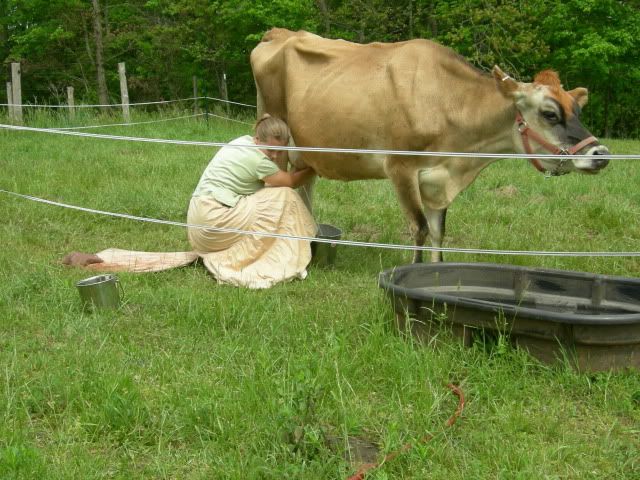
Ok, you can skip that step, if you must! :) In that case, step 1 is pouring 2 gallons of milk into a pot.
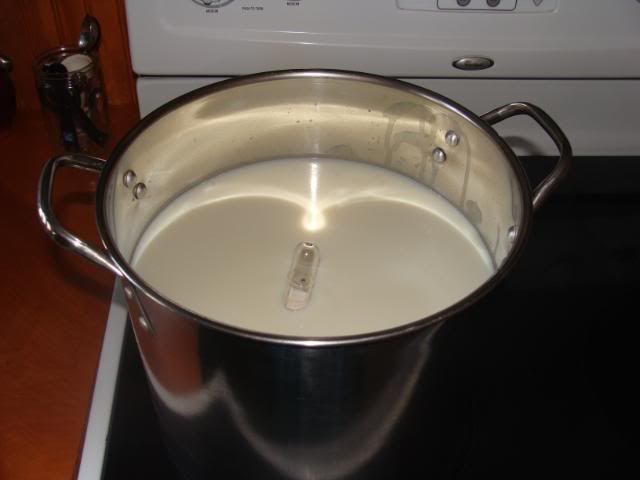
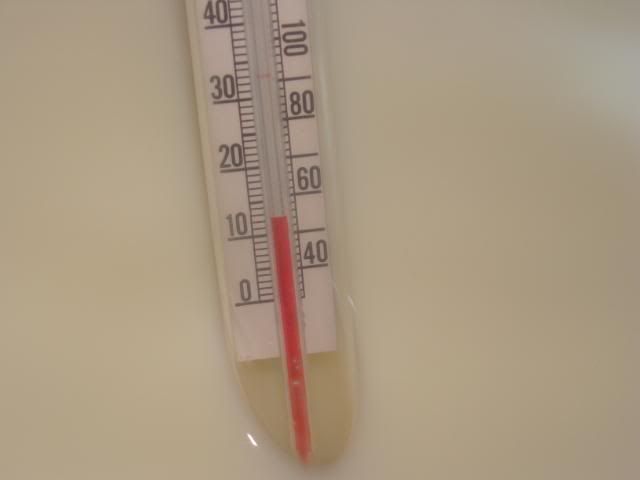
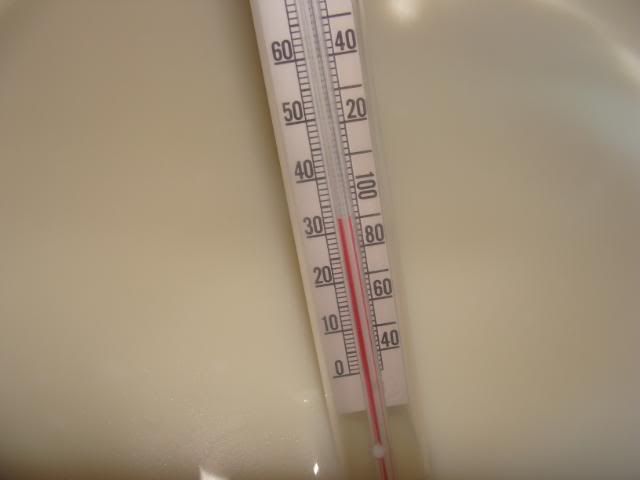
Now you warm it to 55*…
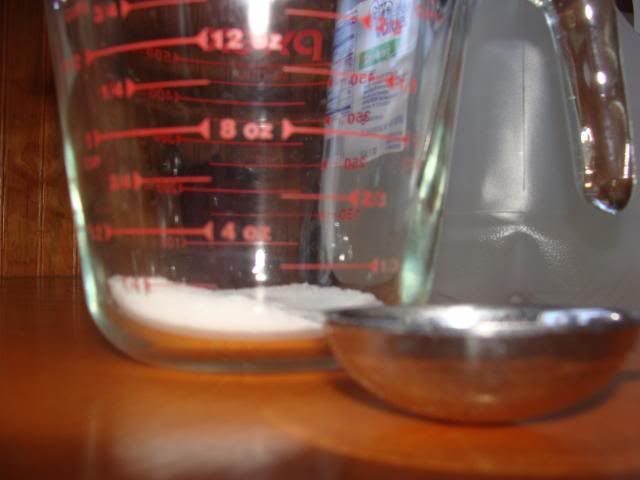
Dissolve 1 Tablespoon Citric Acid into 1 cup cool water…
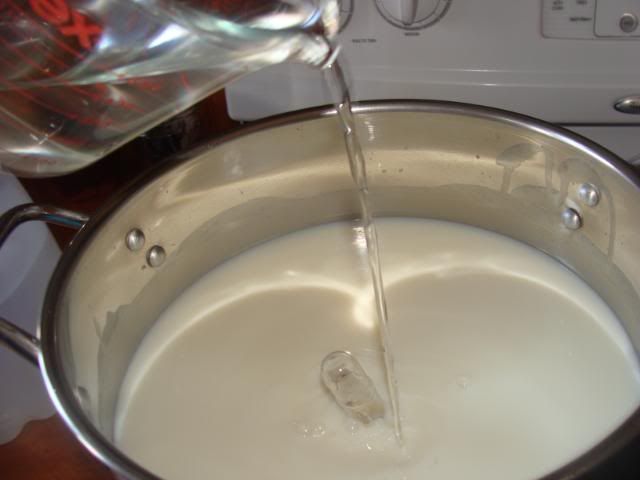
Pour slowly into the milk at 55* and stir gently…
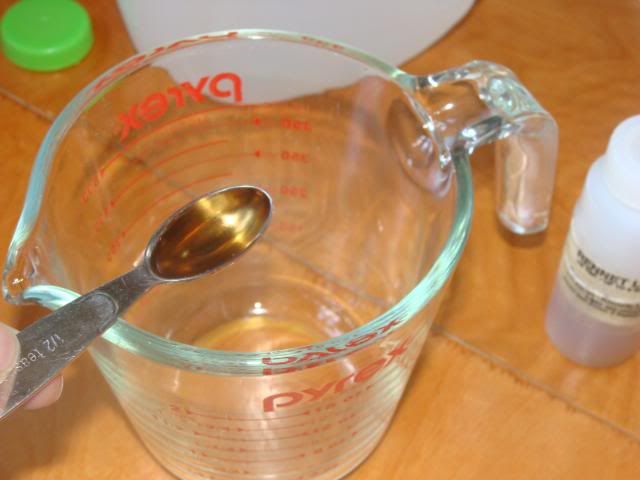
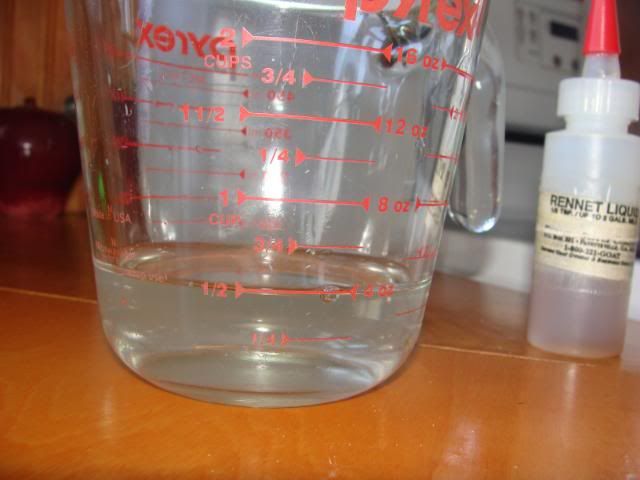
Now dissolve 1 Teaspoon Rennet into 1/2 cup of cool water…
Heat the milk to 90*, and then slowly add the dissolved rennet, stirring all the time. I don’t have a picture of that, because I was the only one around, and I couldn’t take a picture while pouring and stirring! I’m good, but that’s just a little too much.. B-)
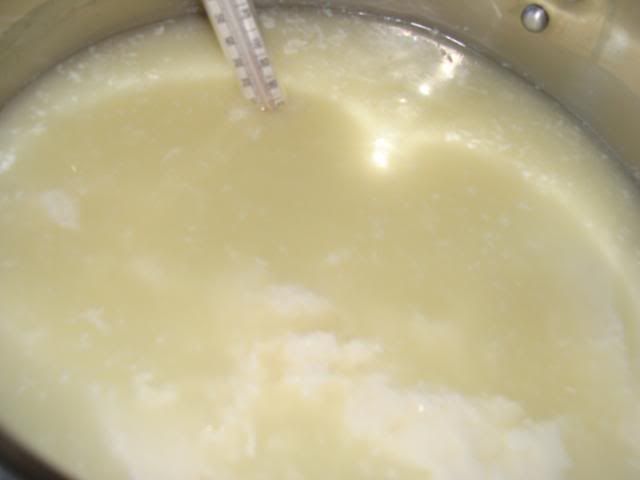
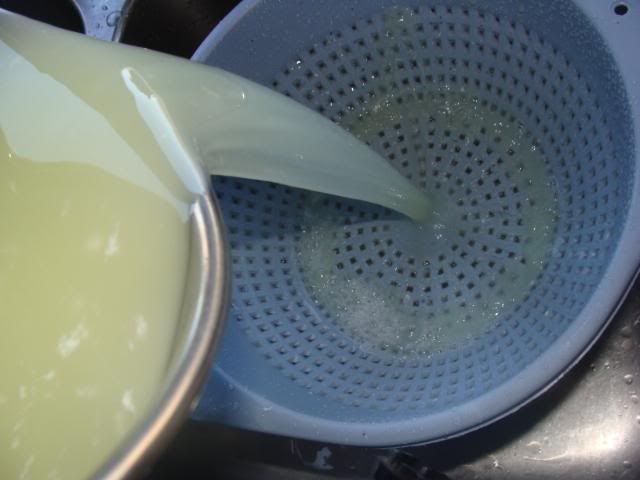
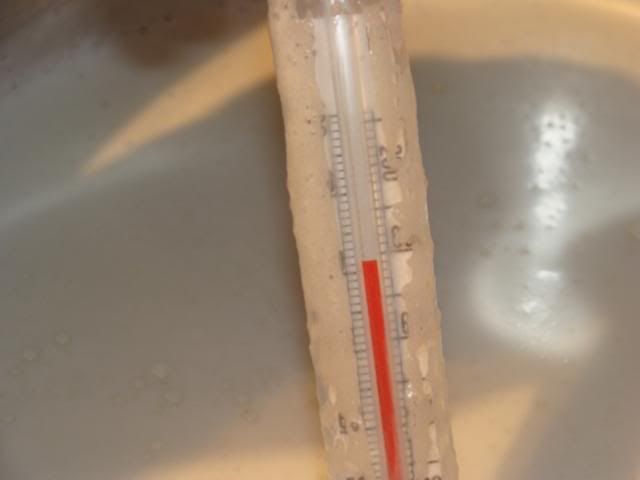
Continue heating slowly to 100*-105*. The curds will begin to separate, and by the time the milk is heated to this temperature, the curds and whey will be completely separated, as shown below…
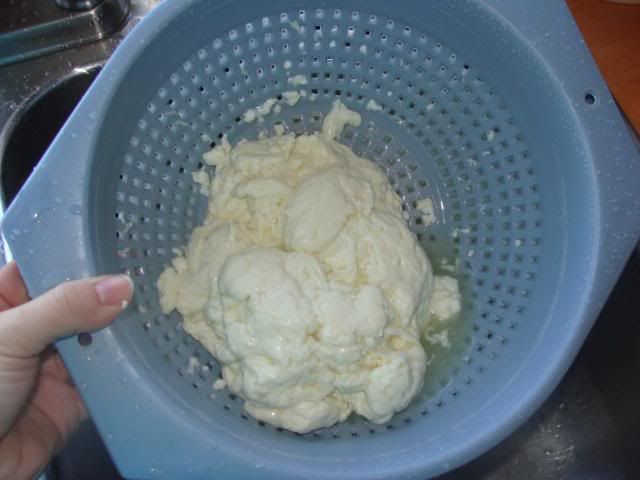
When the whey is clear, strain the cheese through a strainer (novel idea…) RESERVE THE WHEY!!! I have a bucket under this colander…
You can also add about 1 teaspoon of salt to the curds at this point.
The reserved whey…
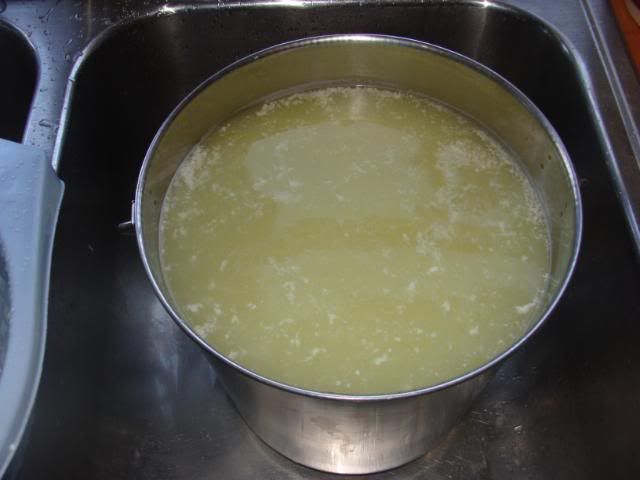
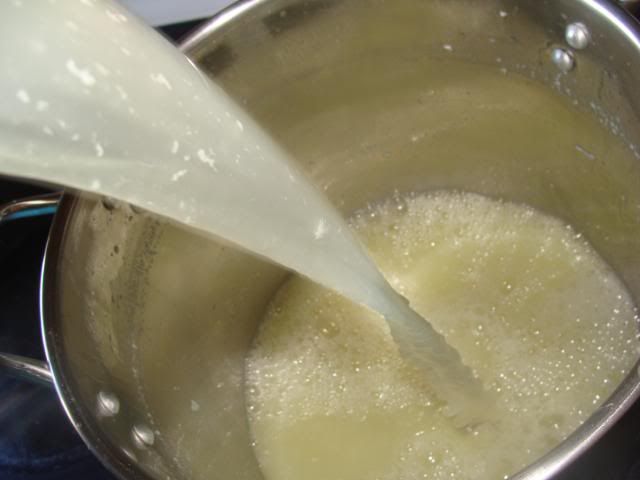
Pour this whey back into your original pot…
Breathe in…a very important step.
Heat this whey to about 175*…
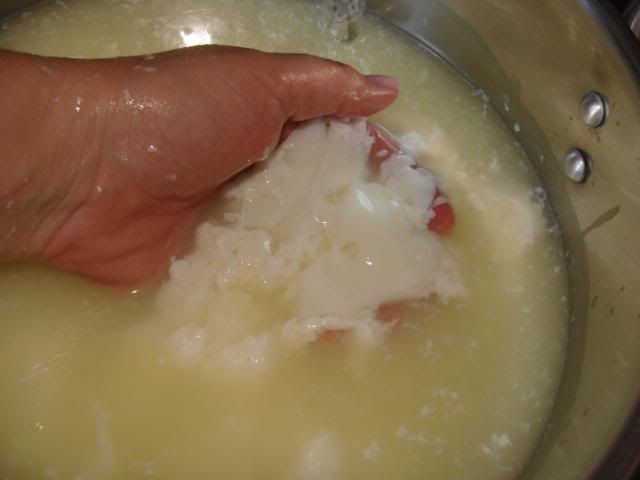
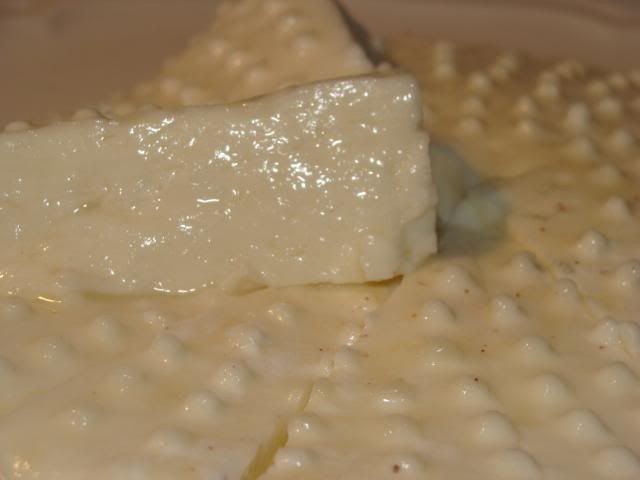
After I drain the cheese, (I do flip it a few times while it’s draining, to get more whey out) I put it on a plate…just makes it easier to cut. Now, if you’re just making mozzarella to eat fresh, or to grate for something later, you can cut this into quarters. I was making cheese sticks this time, so I needed smaller sections…
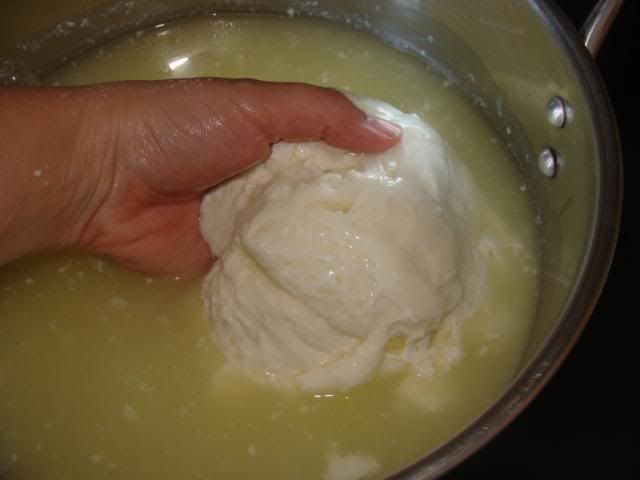
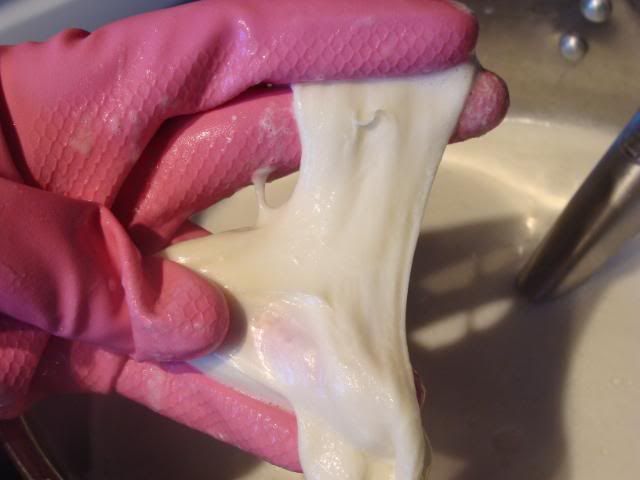
Now for the fun part! You’re going to need to don your rubber gloves, because this whey is HOT and I prefer to leave my first layer of skin intact! I bought fancified gloves, but any kind of heavy rubber gloves will work. My gloves make me smile. :D see?
OK, back to cheese…dip one piece of the cheese into the whey, with a slotted spoon. It only takes a minute, and it starts melting. You want to take it out, and get your hands in it now. All you do for this step is stretch it, like taffy. Dip it in the whey, stretch it, fold it, whatever you have to do, just keep melting it and stretching it together. You’ll be able to tell when it’s melted together enough…you will be able to roll it into a smooth ball.

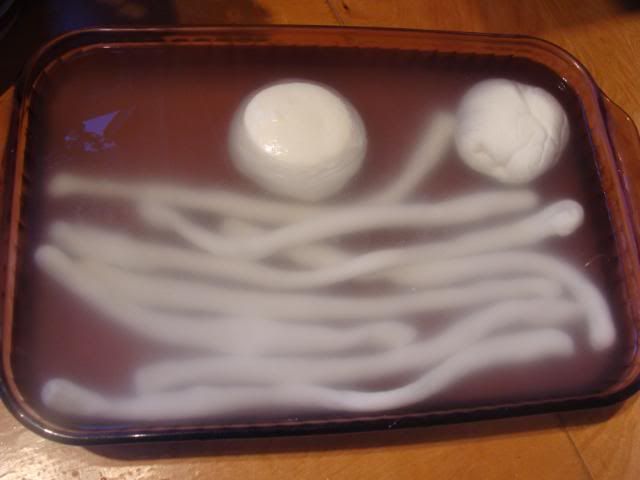
You’ll need a bowl of ice water to drop the balls into as you get done with them. The ice water cools the cheese rapidly and promotes a smooth texture throughout the cheese.
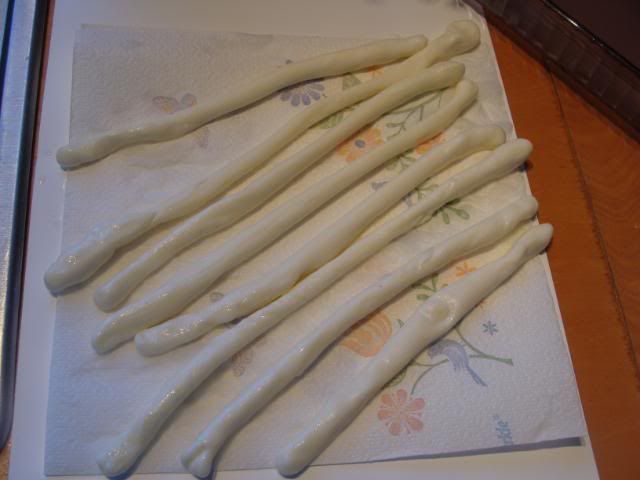
When you’ve stretched and shaped all of it, you should have 4 balls like the 2 in this picture. Since I was making cheese sticks this time, I shaped mine a little differently…
After they sit in the ice water for a while, you can drain them on tea towels, and then eat them or wrap them for the fridge. As a side note, please don’t use paper towels like I did in this picture, or the cheese will stick…ask me how I know! 8-|
Okay, I think that’s it. Someone email me if I forgot something! This recipe is a spin off of Ricki Carroll’s 30 minute mozzarella recipe, but she says to use a microwave to heat the curds at the end. /:) After spending the time and energy making this cheese, with the incredible milk, I would NEVER use a microwave to melt the curds. That would be just…sinful! :) Not to mention the fact that we don’t even have a microwave…but that’s an entirely different story!
Recent edit: When we were in CO, we were in a Williams-Sonoma kitchen store (oh my word..I was in heaven!) and there was a chef doing a cooking demonstration. I don't even remember what all he was cooking, but he made mozzarella. In the step after he stretched it, he made a short little log with it, placed it on plastic wrap, and wrapped it up tightly, twisting the ends while he spun the log around. Then he put the whole thing in ice water. It's hard to explain, but it was a really neat little trick. Next time I make mozzarella, that's what I'll do!
I miss my cows. :(
No comments:
Post a Comment