Showing posts with label dessert. Show all posts

Wednesday, February 29, 2012

Tapioca Pudding

Last night when Jacob was here, I got a hankering for tapioca and mentioned said hankering, and he said he liked tapioca, but not to make any just for him, and "you don't really want to go in there and make anything else, do you?" I said no, not really, so we just kept sitting on the couch and I filed away the part about him liking tapioca. I do a lot of filing away these days...he doesn't care much for Altoids, wintergreen Life Savers are his favorite, but he doesn't even know I remember that, I'm sure. And he likes tapioca. :)

So anyway, for the past hour or so, I've been reading my archives on my old blog. That's how you know you're hurting for entertainment, when you have fun reading your own old posts. Here's the tapioca pudding recipe, originally posted July 21, 2011.

I love Tapioca Pudding. Otherwise, I wouldn’t be blogging about it. I mean, would it make any sense for me to blog about something and say “Gee, this is really nasty, and I can’t stand it, but you really should make it anyway.” Yeah…that would be rather crazy.

Anyway, the other evening at supper, it hit me all of the sudden that I wanted tapioca pudding. We’ve seriously cut back on desserts…Dad said he wasn’t eating dessert again until after their anniversary (August 13th) so without him eating dessert, we just don’t cook fancy desserts. It’s killing me! Tapioca is good for you though, and if you cut the sugar the tiniest bit, sugar doesn’t even make the top three ingredients! Dad still didn’t eat it, and Mom and I are the only ones that like it, other than Dad. The other boys here just don’t know what good food is, and that’s all there is to it! So, I took our regular recipe and cut it by 1/3! It just makes enough to two people then, and it’s best fresh.

So, I started out with 1 cup of milk. Raw, of course…until I boiled it, anyway.


Add 2 Tablespoons of tapioca…


A pinch of salt. Actually, it’s 1/3 of 1/4 teaspoon. I figured a pinch was ok.


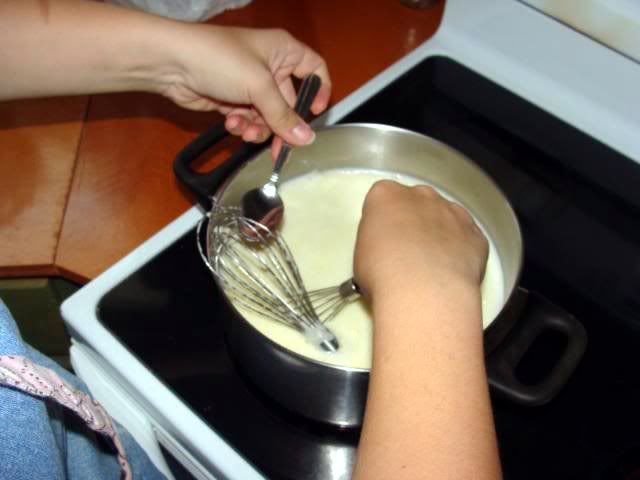
Whisk all that together and bring it to a boil.


While it’s coming to a boil, I got 2 tablespoons (actually, about 1 1/2 is what I did) of sugar ready, and beat 1 egg.


I also buttered two of the little ramekin things. There is absolutely no reason to butter your dishes…I just wanted to get a little butter in the recipe somehow and that’s what I came up with. Weird, I know.


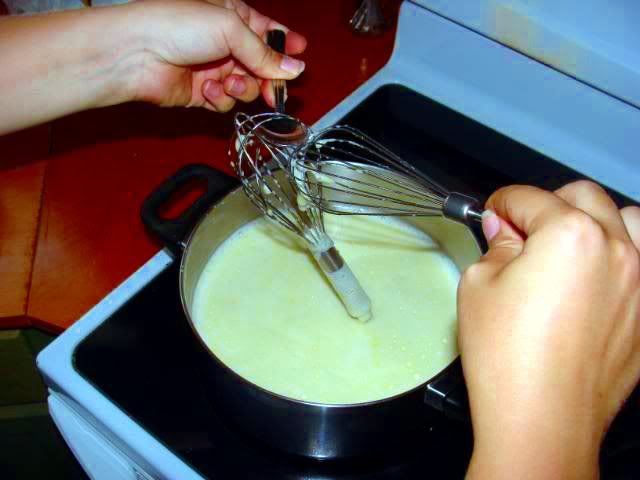
Now, the milk and tapioca is boiling. While it boils, add the sugar slowly and whisk and simmer for 5 minutes.


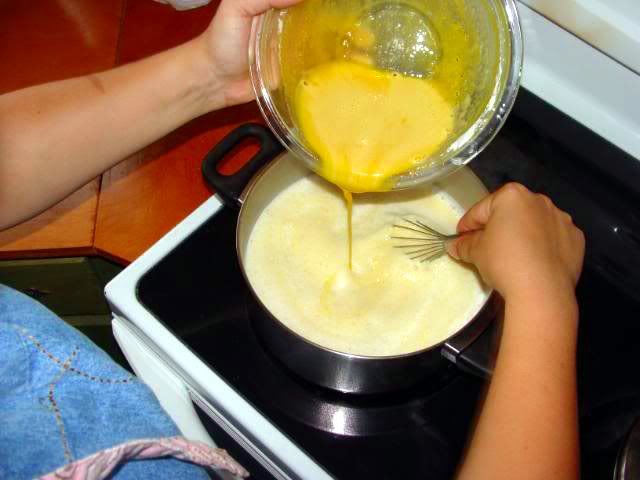
Now, after 5 minutes, slooooowly whisk in some of the milk into the beaten egg.


Now turn around and whisk the hot egg and milk mix back into the remaining milk mixture. You don’t have to literally turn around. That was just a figure of speech.


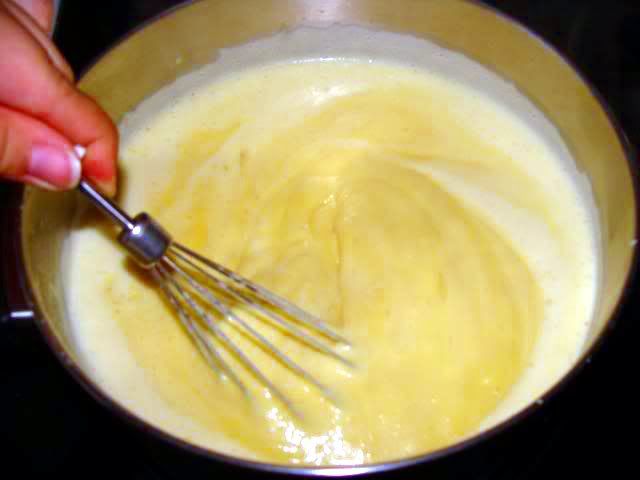
Now, boil over lowest possible heat for 5-10 minutes, until it’s almost as thick as you’d like it to be.


Oh, it just looks so thick and creamy and eggy and YUMMY!


Now set it aside to cool, for about 15 minutes.


After that, add in 1/3 of 1/4 teaspoon of vanilla. RIIIGHT. If you’re like me, you’ll add about a tablespoon.


Now spoon it into your dishes and consume joyously.


When we had all of our own animals, this would be so yellow and pretty. In the spring, when the cows were on all of the new grass, the cream would be so gorgeously yellow, and I’ve been known to use half milk and half cream making this. Also, the chickens out on the grass would lay eggs that were bright orange, so the combination of all of that…yum! We still have good eggs and milk…but it’s not our’s!

Make this tonight…you will NOT be sorry!

~Kayla

Monday, October 31, 2011

Frozen Peanut Butter Pie

Last Saturday I had company. Earlier in the week, when I invited said company I decided to make pizza for um...him, and Mom said it would be good to make these peanut butter pies. More on said company sometime...later :)

Anyway, we love peanut butter pies. My grandma used to make these, and I'm not even sure how long ago that's been. We don't make them that often, because this recipe makes four pies, and if we have that much dessert around...well, we eat it. But my company was special and so peanut butter pie it was. He liked it. :D

This isn't health food at all. It's like, the opposite of health food. (junk food, FYI) I usually get four graham cracker crusts, but I wanted to use the little individual crusts...they were so cute!

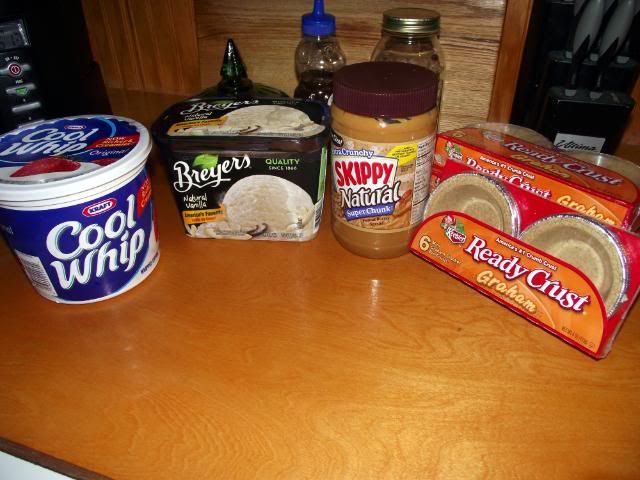
So here's what you'll need:


I told you it was junk food. You're supposed to have half a gallon of vanilla ice cream, 16 ounces of Cool Whip, and 16 ounces of chunky peanut butter. I didn't have the recipe with me at Walmart and didn't think about the fact that Breyer's is cheesy and cut their containters to only hold 1.5 gallons. I already had the peanut butter on hand, so this is an enormous container. You need either four regular crusts, or 24 small ones.
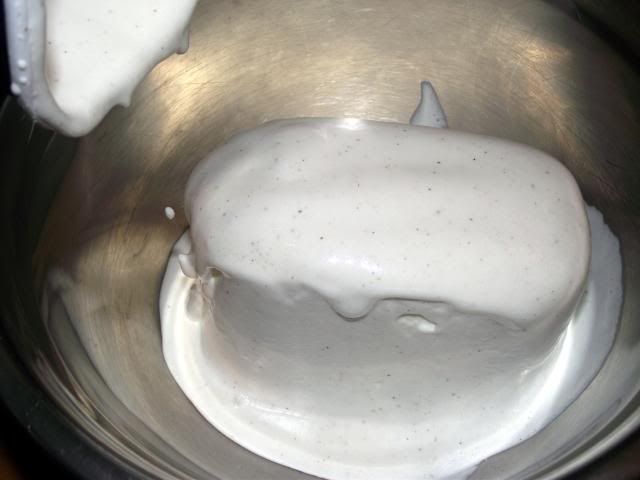
So first off, the ice cream needs to be soft and the Cool Whip needs to be thawed. Dump the melty ice cream into a large bowl.


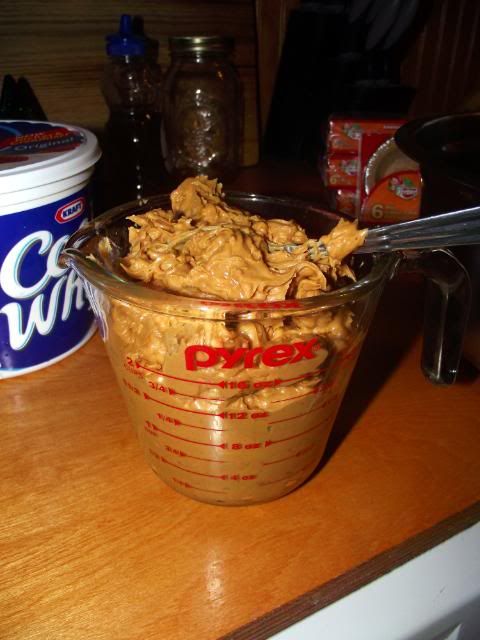
Mix in the peanut butter. I just measured out 2 cups. Hehe...yeah, just 2 cups.


Blend it up well...


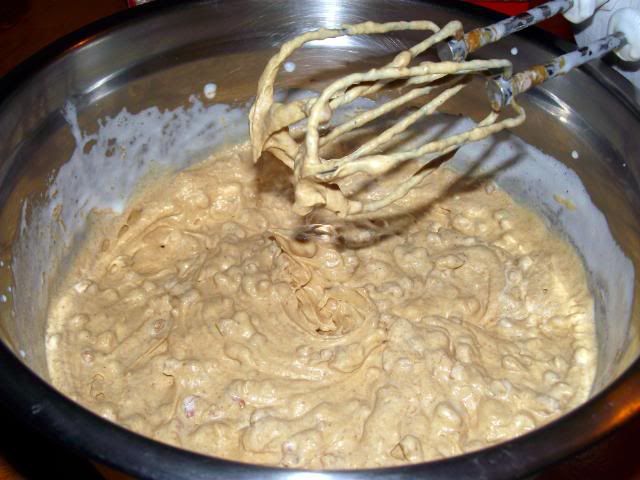
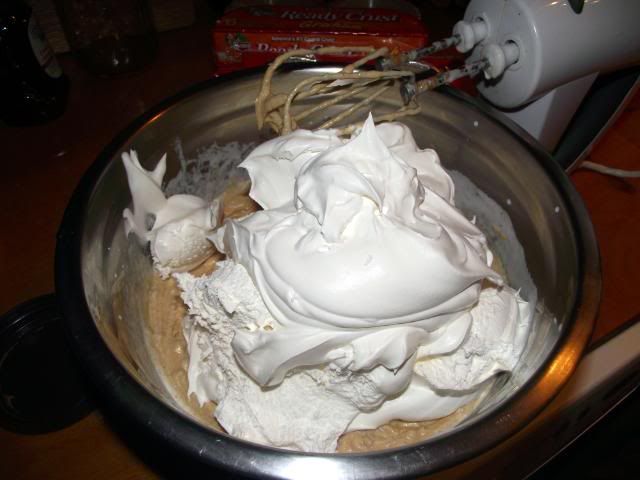
Add the Cool Whip. I hate Cool Whip. I really do. It's so...fake and chemically. Bleh.


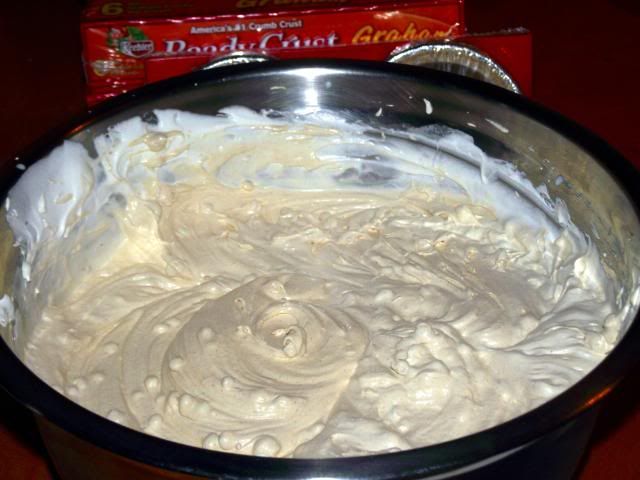
Mix that up well.


Now, you can either scoop this into four graham cracker crusts, or do like I did and use 24 small ones. I just spooned spoonfuls into the crusts, controlling the spoonfuls with my finger. Hah. It was at this time that I got frostbite on my finger.


Now, we always serve our frozen peanut butter pie with Hershey's syrup. It's just what we do. However, I completely forgot to get pictures of the syrup on the pies. I was otherwise eng...I mean, occupied. Take my word for it...we put chocolate syrup on top of our pie.

I was able to take a small fork and work the pies out of their little tin shell thingy, so it worked out really well to have individual ones!

It's yummy. I'm sure you'll love it!

I hope y'all are having a great week! :)

Tuesday, September 20, 2011

Banana Pudding

As many of you know, if you've been following my blog for any length of time at all, dessert in this house equals chocolate. That's just the way it is. My dad loves chocolate, and does NOT love fruity desserts.

Thankfully, he doesn't mind fruity people.

My grandma used to make banana pudding. I'd never made banana pudding, but I picked up a cooking magazine at TSC a while back, and there was a recipe for banana pudding.

I made it.

It turned out fabulous, yummy, pretty, and incredible.

I never, ever blogged about it. What kind of blogger am I anyway?

Today, Mom and I were going over our Thanksgiving menu. (We just found out not too long ago that we'll have special company, which has us all jumping for joy. We've struggled with "having" Thanksgiving since we moved and don't have family here. We went to GA for a few days last year, but couldn't afford another trip this year.) With our guests in mind, I decided to bring out the banana pudding recipe and look over it, so I could decide if I wanted to make it or not. I pulled up old pictures on my Photobucket and found the pictures of the banana pudding. That's even more terrible, isn't it? I took pictures and never posted! So, I downloaded the pics to the computer, edited them a bit (some too much...oops) and reloaded them. And here I am to finally, at long last, blog about it! Let's see how I do at blogging about something I did a long time ago...

BTW, I'll share more about our menu later on...we're putting on the dog! That's what we southern girls do when we have company. :) It makes us happy.

The magazine I got the recipe from is called "Cook's Country" and I absolutely love it. LOVE it. I need to stop by TSC and pick up another one. The one I have is a September 2010, which is funny...I didn't notice that until just now. I guess I made banana pudding a year ago this month.

So, let's get started! This was a lot of steps, and took a lot of time, but I loved making it, and I'm really looking forward to making it again. This is how I roll. :)

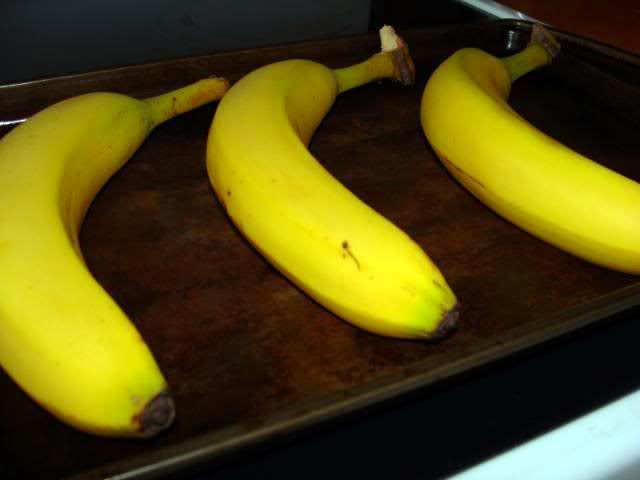
Place 3 not-too-ripe (slightly greenish) bananas on a baking sheet...


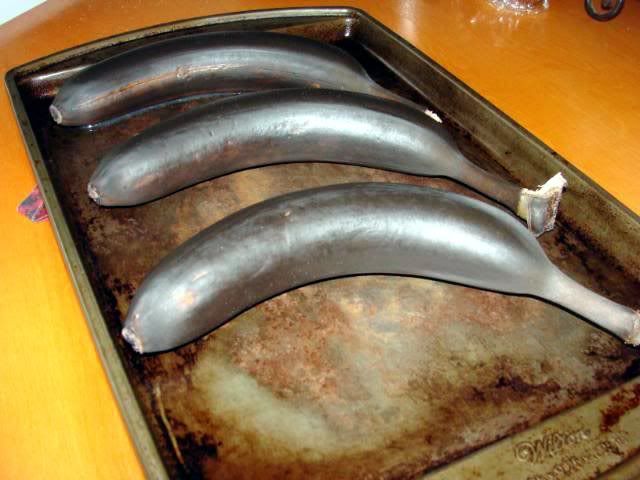
And roast them at 325* for about 20 minutes, until they're a strange black...weird, isn't it?


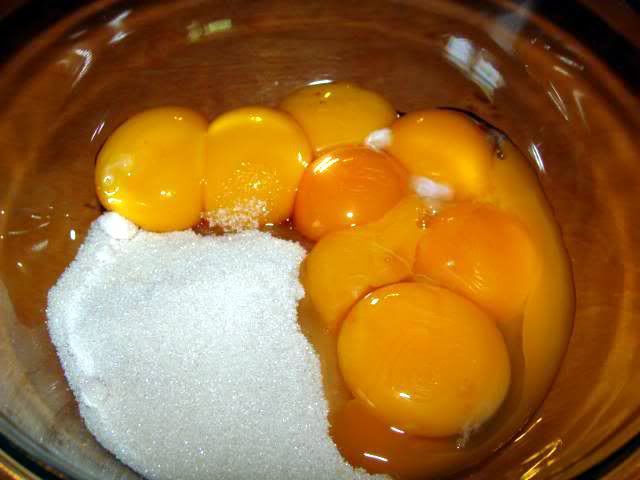
In the meantime, whisk 1/2 cup of sugar, 8 large egg yolks, and 6 tablespoons of cornstarch together in a bowl...


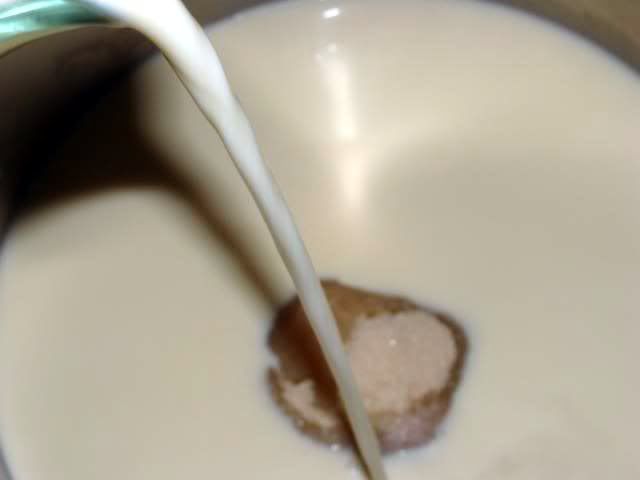
Combine 6 cups of half and half, 1 cup of sugar, and 1/2 teaspoon of salt in a saucepan...


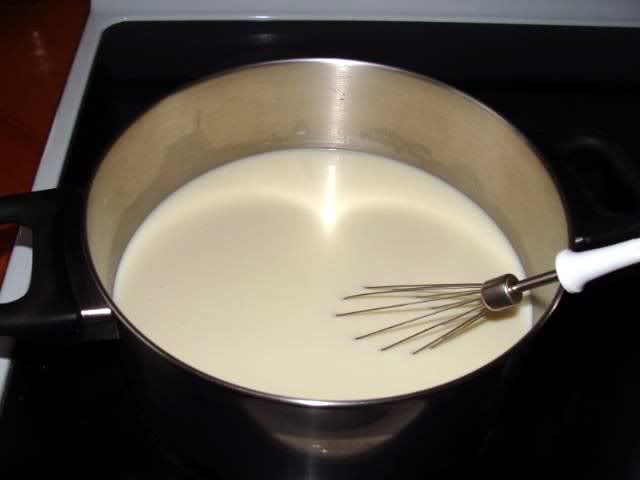
Whisk and simmer...


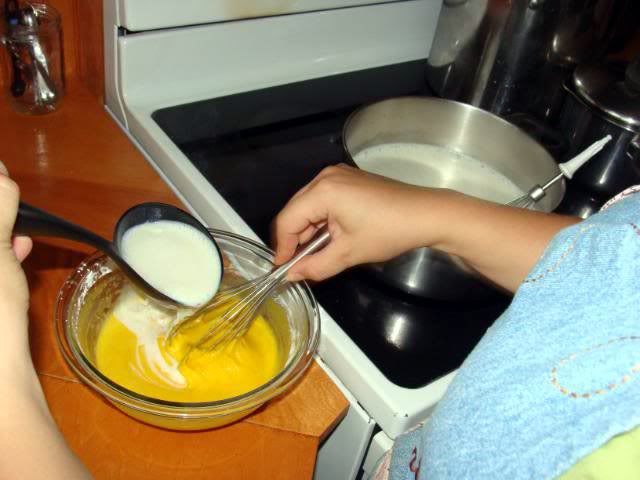
Whisk 1/2 a cup or so of the simmery milky mix into the egg yolk mixture, slowly...


And whisk the mixture of the mixtures back into the simmery milky pot...


I apparently dropped my whisk with which I was whisking (say that three times fast...) and had to fish it out...


Anywho, whisk this mix until it's thick and bubbly, about 2 minutes...


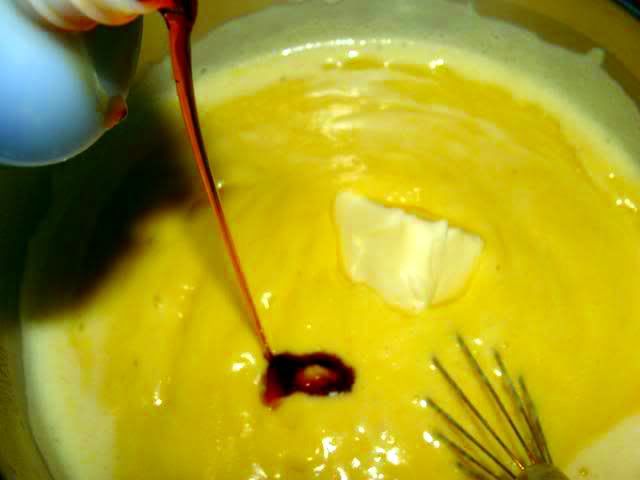
Remove from the heat and add 1 tablespoon of vanilla and 3 tablespoons of butter...


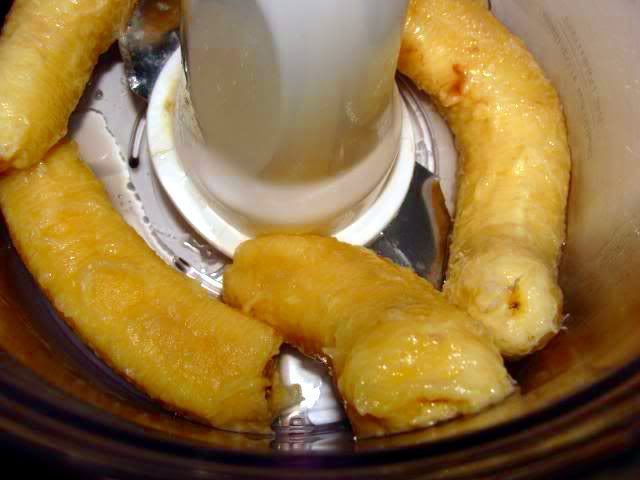
Now, peel and place the warm, roasted bananas in a food processor...


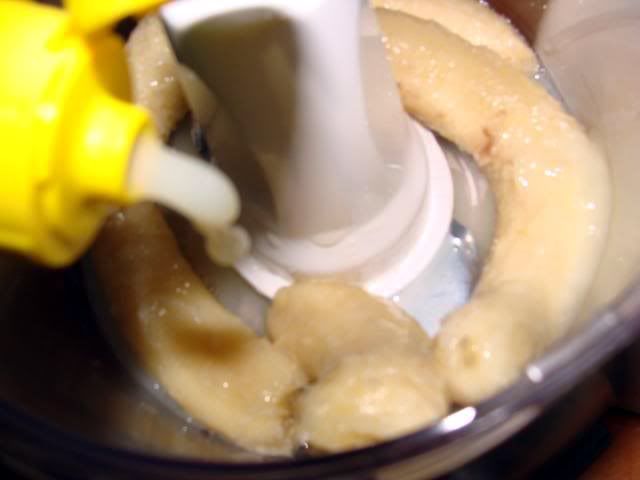
Add 2 tablespoons of lemon juice...


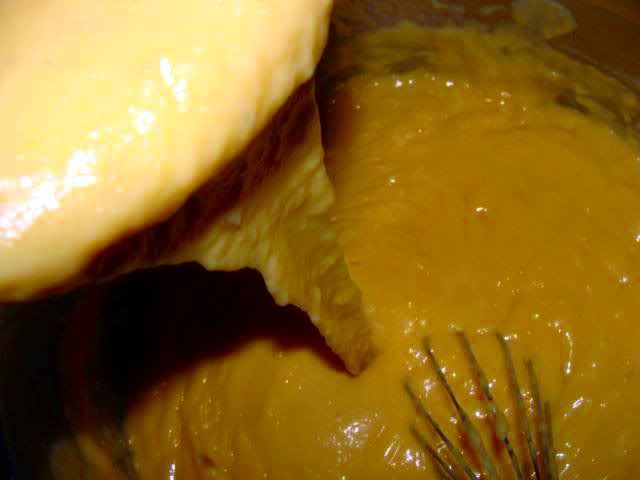
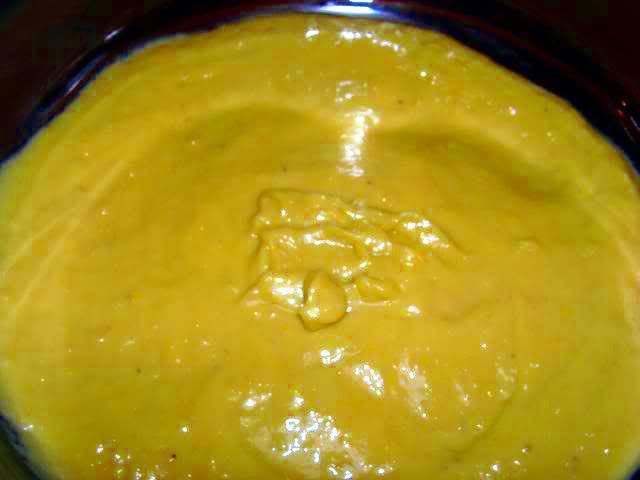
And add the warm pudding...


Like so...


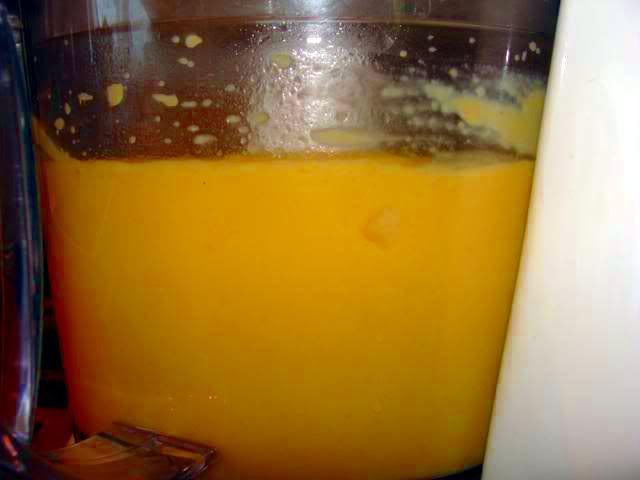
And blend it to kingdom come...


I didn't have a food processor big enough to add all of the pudding, so I blended some of it with the banana and then whisked it back in with the other pudding...


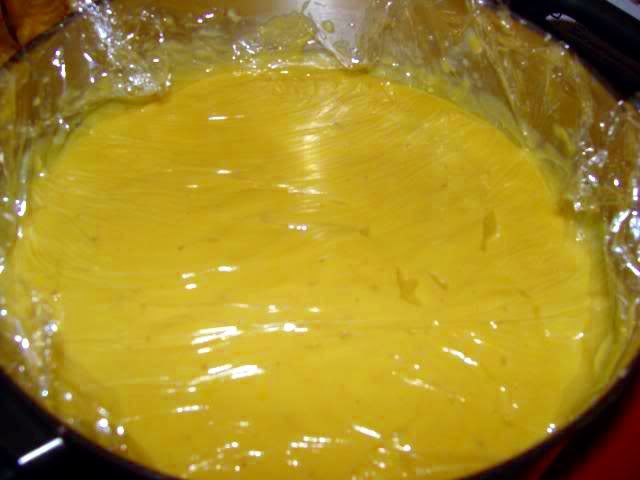
Now, transfer all of that into another bowl, place plastic wrap directly on the pudding surface and refrigerate until slightly cool, about 45 minutes...


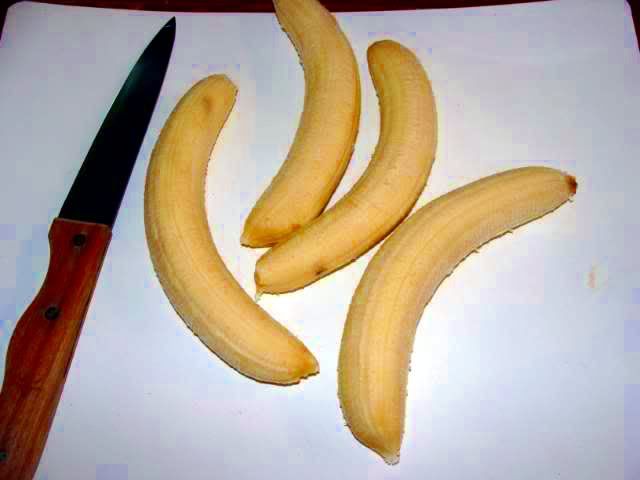
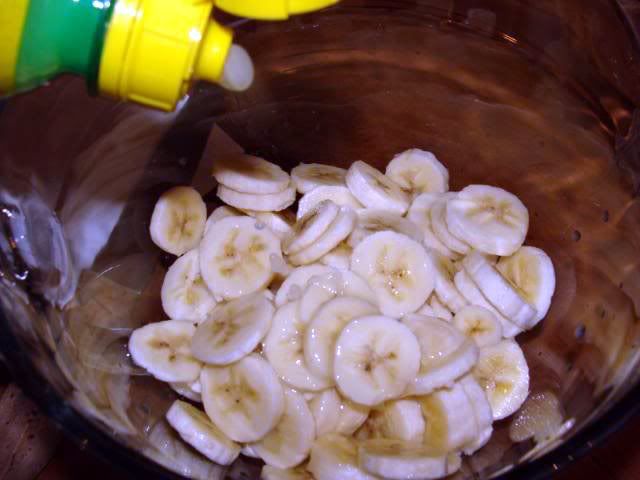
Cut 4 bananas up into slices...1/4 inch or so...


Add lemon juice, to prevent them from turning brown...


Now for the fun part...retrieve the cooled pudding from the fridge...


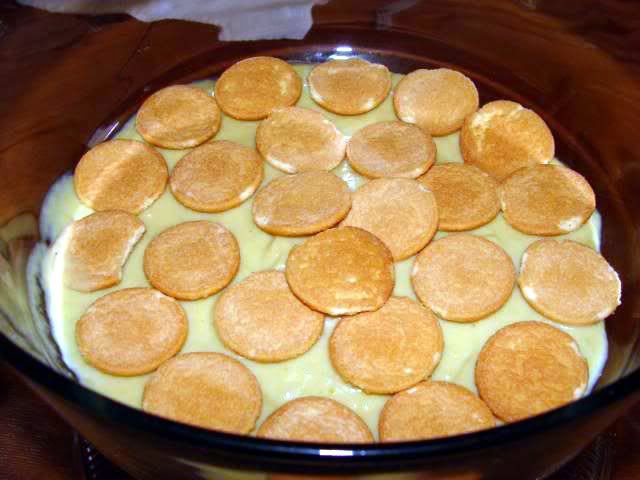
Spoon 1/4 of the pudding into a 3 quart bowl/dish/thingamabobber


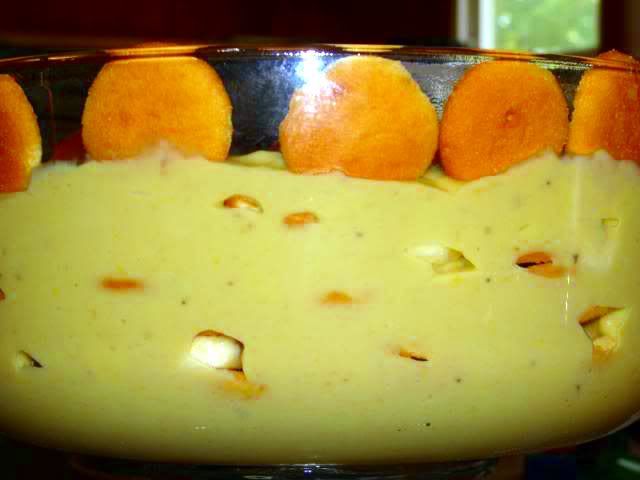
Next...a layer of Nilla Wafers. Yum.


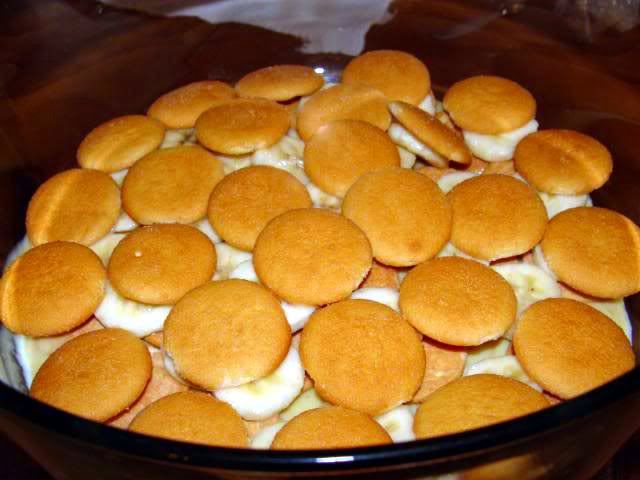
Now, a layer of bananas, followed by another layer of Nilla Wafers...


You don't have do put yours upside down and right side up...I'm just a little weird that way.

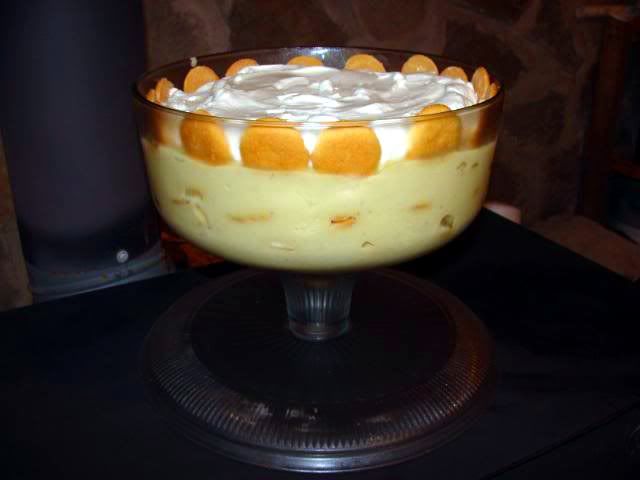
Now, another layer of pudding, another wafer/banana/wafer layer, and another pudding layer to complete your layery yummy thing. (2 boxes of Nilla Wafers makes for a comfortable amount...with plenty to snack on, if one were snacking.)


Now, place a layer of plastic wrap on top and refrigerate until the wafers have softened to your liking...8 hours to 2 days.


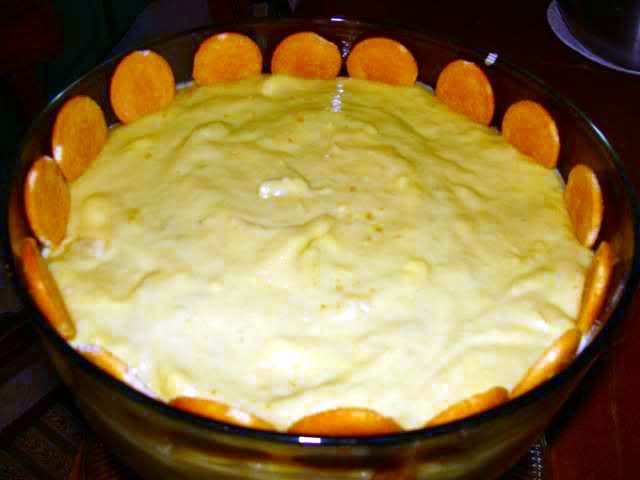
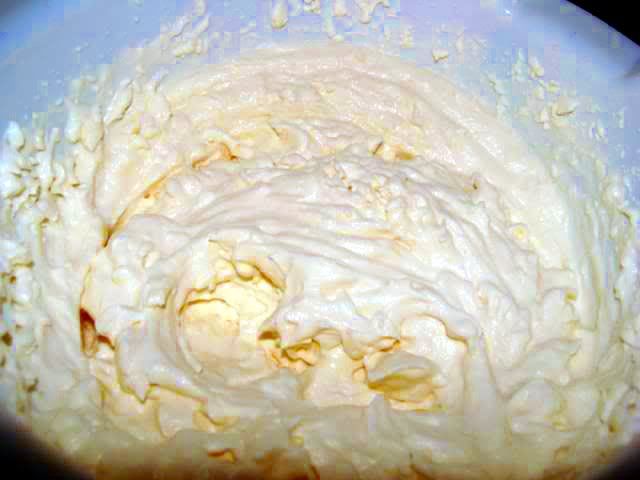
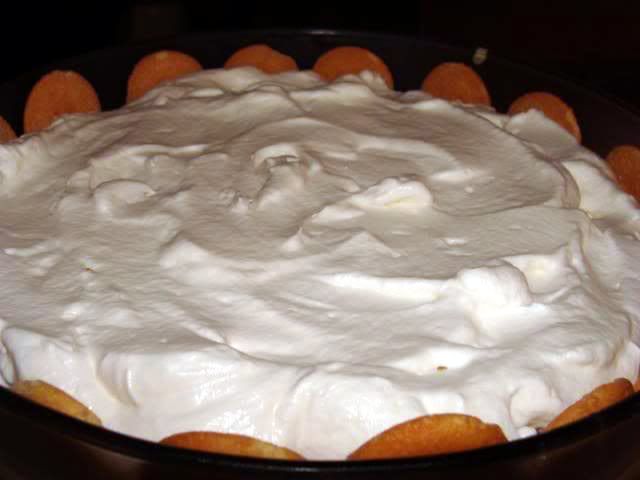
When you're ready to serve it, whip 1 cup of heavy cream, 1 tablespoon of sugar, and 1/2 teaspoon of vanilla...


And spread atop your masterpiece!


Gee...that's purdy.


Viola!

The printable isn't ready yet, and I will edit this to say otherwise when it is. Google the "Cook's Country" magazine, September 2010 issue if you're in a hurry. :)